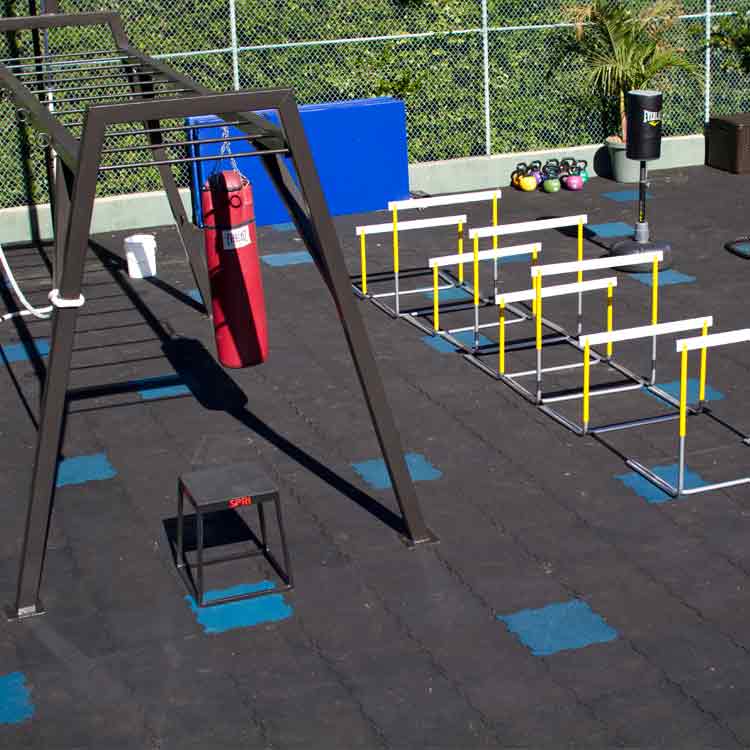
 For the lot of us that are less adept with hands-on projects, anything that promises do-it-yourself ease is most likely an invitation for disaster. If you ever attempted your own oil change, hemmed your own jeans, or cut your own hair you probably know what I’m talking about. Fortunately, setting up some interlocking rubber flooring tiles is a nearly foolproof DIY project. Using the interlocking mechanism on rubber tiles is, quite literally, a snap.
There are two types of interlock flooring tiles: rubber puzzle mats and pin-mechanism interconnecting tiles. In this guide, we’ll walk through a couple of steps to effectively install puzzle mats.
Before you begin to assemble the puzzle mats, make sure that the floor area you are covering is free of excess dirt, dust, and debris. Also, eliminate any moisture, grease, or oil that may interfere with an efficient installation.
After clean-up, you’ll need the following materials:
Now, let’s get to installing interlocking rubber flooring tiles:
 Provided you have enough rubber puzzle mats to cover the area of your desired location, loosely lay the mats over the entire area to get a general idea of how the mats will be laid.
Interlocking rubber flooring tiles are an easy DIY flooring solution. With the exception of cutting the tile’s protrusions, putting together rubber puzzle mats is something that you probably learned as a kid when you put together a jigsaw puzzle! By setting up your own interlock flooring you save plenty of coin that would otherwise be spent on costly professional installers. With the money saved, you can now get a proper oil change, a new pair of jeans, and a symmetrical haircut!